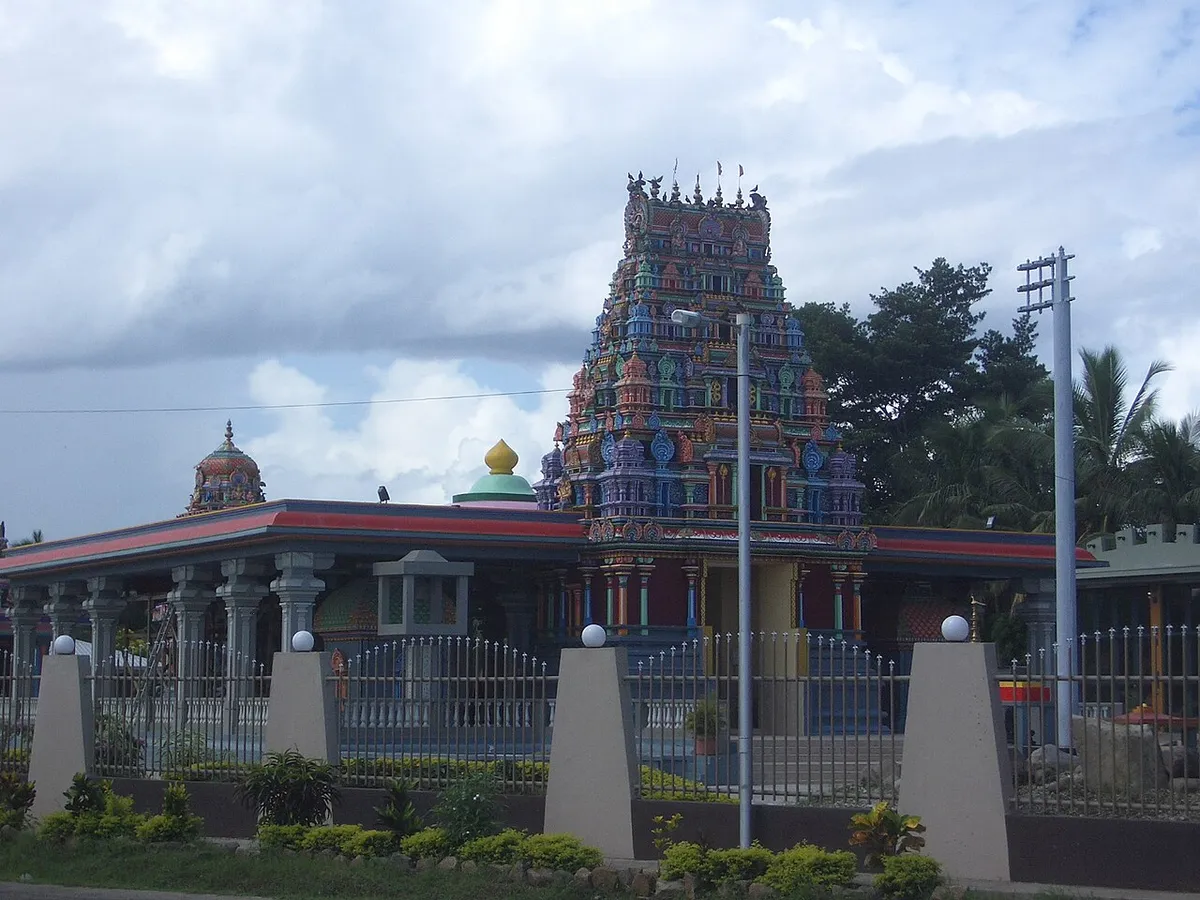
Hindu Temple in Nadi, Fiji
Photo: Ben Turner from Georgetown, DC, USA · CC BY 2.0 · Wikimedia Commons
Free travel itinerary template · 3 days

Nadi 3-Day Itinerary

3 days exploring Nadi by area. Includes Sri Siva Subramaniya Temple and Nadi Produce Markets. Adjust the suggested visits and transfer breaks to your pace.

Adapted from community travel guides · Researched 2026-11-09Sources & notes

The stops are drawn from the guides below; daily order, times and durations are our suggested adaptation. Available map pins are approximate, not provider-verified; missing coordinates remain unset. Prices are left unknown; check tickets, opening hours and transport before booking.

Route data adapted from Wikivoyage contributors, with our own selection and suggested timing; shared under CC BY-SA 4.0. Source pages link to contributor histories. This is a starter route, not a community rating or a complete city guide.

  • Coastal visits are sightseeing suggestions, not a statement that swimming is safe. Follow local beach flags and sea conditions. Boat outings require a separate booking and a weather-dependent operating check.
  • Stay in Nadi for 3 sightseeing days. Wikivoyage contributors · Nadi: revision 5412069.
  • Sight selection is adapted from the linked community guides and previously researched city templates. Suggested time blocks are not confirmed opening hours, reservations or live prices. Adapted Wikivoyage route selections are shared under CC BY-SA 4.0; original photo licenses and credits remain attached.
  • Travel between bases has its own relocation day. Local transfer blocks include a lunch break and require checking against your actual route, transport mode and accommodation. Remote sights may need a driver or an extra travel day.

Nadi itinerary: 3 days at a glance

Review the original daily plan before editing below. Times and durations are suggested planning blocks; dining stops are not reservations. Your personal edits appear in the editor and downloads.

Day 1

  • · Sri Siva Subramaniya Temple · 120 min
  • · Lunch break and local transfer · 150 min
  • · Nadi Handicraft Market · 120 min

Day 2

  • · Garden of the Sleeping Giant · 120 min
  • · Lunch break and local transfer · 150 min
  • · Wailoaloa Beach · 120 min

Day 3

  • · Nadi Produce Markets · 120 min
  • · Lunch break and local transfer · 150 min

Download this itinerary

Free with a free account
Customise right here: move, duplicate, add or delete days and activities, then download.
Day 1
  • 09:30120m
    Queens RdMap

    Suggested visit block; confirm current access, tickets, closures and the entrance before travelling. Approximate map pin from a community guide; confirm the entrance. Source: https://en.wikivoyage.org/wiki/Nadi (revision 5412069). Selection and timing adapted from the credited guide; community route data retains CC BY-SA 4.0 attribution.

  • 12:00150m
    NadiMap

    Flexible allowance for lunch and travel between visits. Choose a restaurant near your route. Check actual walking, transit or taxi times; no meal, fare or reservation is included.

  • 15:00120m
    NadiMap

    Suggested visit block; confirm current access, tickets, closures and the entrance before travelling. Approximate map pin from a community guide; confirm the entrance. Source: https://en.wikivoyage.org/wiki/Nadi (revision 5412069). Selection and timing adapted from the credited guide; community route data retains CC BY-SA 4.0 attribution.

Day 2
  • 09:30120m
    Wailoko RdMap

    Suggested visit block; confirm current access, tickets, closures and the entrance before travelling. Approximate map pin from a community guide; confirm the entrance. Source: https://en.wikivoyage.org/wiki/Nadi (revision 5412069). Selection and timing adapted from the credited guide; community route data retains CC BY-SA 4.0 attribution.

  • 12:00150m
    NadiMap

    Flexible allowance for lunch and travel between visits. Choose a restaurant near your route. Check actual walking, transit or taxi times; no meal, fare or reservation is included.

  • 15:00120m
    NadiMap

    Suggested visit block; confirm current access, tickets, closures and the entrance before travelling. Approximate map pin from a community guide; confirm the entrance. Source: https://en.wikivoyage.org/wiki/Nadi (revision 5412069). Selection and timing adapted from the credited guide; community route data retains CC BY-SA 4.0 attribution.

Day 3
  • 09:30120m
    Hospital RdMap

    Suggested visit block; confirm current access, tickets, closures and the entrance before travelling. Approximate map pin from a community guide; confirm the entrance. Source: https://en.wikivoyage.org/wiki/Nadi (revision 5412069). Selection and timing adapted from the credited guide; community route data retains CC BY-SA 4.0 attribution.

  • 12:00150m
    NadiMap

    Flexible allowance for lunch and travel between visits. Choose a restaurant near your route. Check actual walking, transit or taxi times; no meal, fare or reservation is included.

Been to Nadi? Share your experience

What was worth it, what you'd skip, where you ate. Your tips help the next traveller plan this trip.

Share your experience

Keep planning your trip

Similar routes and the tools to finish your plan.

3Compare all 3 Fiji itinerariesSee all routes 7 daysNadi & Suva 7-Day ItineraryNadi & Suva9 daysNadi & Suva 9-Day ItineraryNadi & Suva

More weekend itinerary templatesShort routes for a two or three day trip.Add this itinerary to your calendarEvery timed stop as an event in Google, Apple or Outlook Calendar.Download formats and instructionsPDF, Google Docs, Sheets, Excel and calendar, step by step.Build a realistic daily schedulePace each day with travel time, opening hours and breaks.
