Adelaide City Guide
World of Wanderlust's guide to Adelaide: highlights, practical details and what stood out to the author.
↗ World of Wanderlust2017-03Our Adelaide route →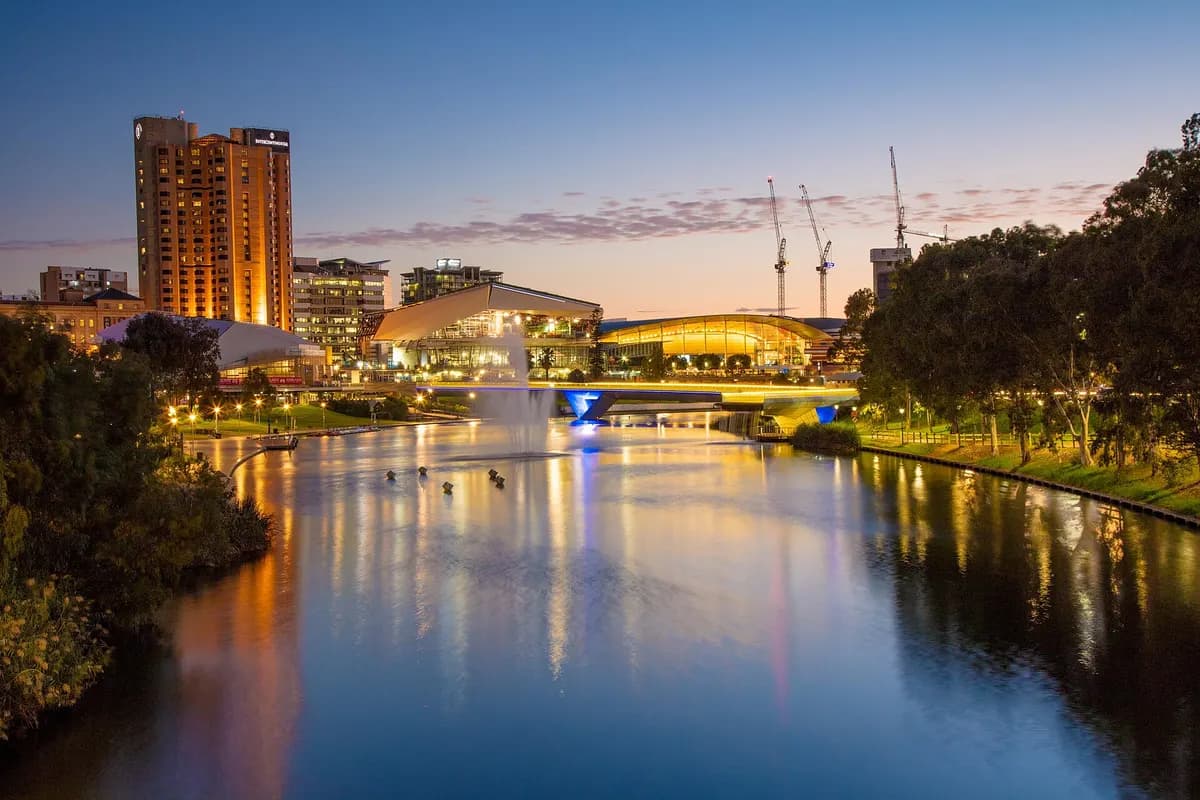
An unhurried 9-day stay, pairing The Adelaide Botanic Garden and other Adelaide highlights into nearby daily groups.
 i
Check weather and access conditions; arrange any required ferry or return transport separately. Approximate map pin; confirm the entrance. Source: Wikivoyage contributors, https://en.wikivoyage.org/wiki/Adelaide/City_and_North_Adelaide (CC BY-SA 4.0). Selection and timing adapted; route data shared under CC BY-SA 4.0.
Estimated transfer allowance between visits (0.78 km straight-line distance, not road distance). Check walking, transit, ferry or taxi options before travelling; allow a meal break before the 15:00 visit.
 i
Check admission, timed-entry availability and the current exhibition or visitor route. Approximate map pin; confirm the entrance. Source: Wikivoyage contributors, https://en.wikivoyage.org/wiki/Adelaide/City_and_North_Adelaide (CC BY-SA 4.0). Selection and timing adapted; route data shared under CC BY-SA 4.0.
 Dish photoi
Curry. Community guide highlights this restaurant’s food or dining experience positively. Suggested dining time, not a booking. Confirm service days, availability, dietary needs and current menu prices before travelling. Service hours need confirmation. About 2.1 km straight-line from the preceding stop; allow transit or taxi time as needed, not a measured walking route. Approximate map pin; confirm the entrance. Dining source: Wikivoyage contributors, https://en.wikivoyage.org/wiki/Adelaide/City_and_North_Adelaide (checked 2026-10-30). Guide recommendations are not live customer star ratings. Wikivoyage revision 5389253; selection and timing adapted under CC BY-SA 4.0.
 i
Check admission, timed-entry availability and the current exhibition or visitor route. Approximate map pin; confirm the entrance. Source: Wikivoyage contributors, https://en.wikivoyage.org/wiki/Adelaide/City_and_North_Adelaide (CC BY-SA 4.0). Selection and timing adapted; route data shared under CC BY-SA 4.0.
Estimated transfer allowance between visits (0.76 km straight-line distance, not road distance). Check walking, transit, ferry or taxi options before travelling; allow a meal break before the 15:00 visit.
Use this as a flexible sightseeing stop; check current visitor access before setting dates. Approximate map pin; confirm the entrance. Source: Wikivoyage contributors, https://en.wikivoyage.org/wiki/Adelaide/City_and_North_Adelaide (CC BY-SA 4.0). Selection and timing adapted; route data shared under CC BY-SA 4.0.
 i
Check admission, timed-entry availability and the current exhibition or visitor route. Approximate map pin; confirm the entrance. Source: Wikivoyage contributors, https://en.wikivoyage.org/wiki/Adelaide/Port_Adelaide%2C_Enfield%2C_Prospect_and_Outer_Harbor (CC BY-SA 4.0). Selection and timing adapted; route data shared under CC BY-SA 4.0.
Estimated transfer allowance between visits (0.35 km straight-line distance, not road distance). Check walking, transit, ferry or taxi options before travelling; allow a meal break before the 15:00 visit.
Check admission, timed-entry availability and the current exhibition or visitor route. Approximate map pin; confirm the entrance. Source: Wikivoyage contributors, https://en.wikivoyage.org/wiki/Adelaide/Port_Adelaide%2C_Enfield%2C_Prospect_and_Outer_Harbor (CC BY-SA 4.0). Selection and timing adapted; route data shared under CC BY-SA 4.0.
 i
Check admission, timed-entry availability and the current exhibition or visitor route. Approximate map pin; confirm the entrance. Source: Wikivoyage contributors, https://en.wikivoyage.org/wiki/Adelaide/City_and_North_Adelaide (CC BY-SA 4.0). Selection and timing adapted; route data shared under CC BY-SA 4.0.
Estimated transfer allowance between visits (1.03 km straight-line distance, not road distance). Check walking, transit, ferry or taxi options before travelling; allow a meal break before the 15:00 visit.
 i
Use this as a flexible sightseeing stop; check current visitor access before setting dates. Approximate map pin; confirm the entrance. Source: Wikivoyage contributors, https://en.wikivoyage.org/wiki/Adelaide/City_and_North_Adelaide (CC BY-SA 4.0). Selection and timing adapted; route data shared under CC BY-SA 4.0.
 i
Check admission, timed-entry availability and the current exhibition or visitor route. Approximate map pin; confirm the entrance. Source: Wikivoyage contributors, https://en.wikivoyage.org/wiki/Adelaide/City_and_North_Adelaide (CC BY-SA 4.0). Selection and timing adapted; route data shared under CC BY-SA 4.0.
Estimated transfer allowance between visits (0.67 km straight-line distance, not road distance). Check walking, transit, ferry or taxi options before travelling; allow a meal break before the 15:00 visit.
Use this as a flexible sightseeing stop; check current visitor access before setting dates. Approximate map pin; confirm the entrance. Source: Wikivoyage contributors, https://en.wikivoyage.org/wiki/Adelaide/City_and_North_Adelaide (CC BY-SA 4.0). Selection and timing adapted; route data shared under CC BY-SA 4.0.
 i
Check weather and access conditions; arrange any required ferry or return transport separately. Approximate map pin; confirm the entrance. Source: Wikivoyage contributors, https://en.wikivoyage.org/wiki/Adelaide/Port_Adelaide%2C_Enfield%2C_Prospect_and_Outer_Harbor (CC BY-SA 4.0). Selection and timing adapted; route data shared under CC BY-SA 4.0.
Estimated transfer allowance between visits (2.14 km straight-line distance, not road distance). Check walking, transit, ferry or taxi options before travelling; allow a meal break before the 15:00 visit.
 i
Use this as a flexible sightseeing stop; check current visitor access before setting dates. Approximate map pin; confirm the entrance. Source: Wikivoyage contributors, https://en.wikivoyage.org/wiki/Adelaide/Port_Adelaide%2C_Enfield%2C_Prospect_and_Outer_Harbor (CC BY-SA 4.0). Selection and timing adapted; route data shared under CC BY-SA 4.0.
Check admission, timed-entry availability and the current exhibition or visitor route. Approximate map pin; confirm the entrance. Source: Wikivoyage contributors, https://en.wikivoyage.org/wiki/Adelaide/Salisbury%2C_Playford_and_Tea_Tree_Gully (CC BY-SA 4.0). Selection and timing adapted; route data shared under CC BY-SA 4.0.
Estimated transfer allowance between visits (3.4 km straight-line distance, not road distance). Check walking, transit, ferry or taxi options before travelling; allow a meal break before the 15:00 visit.
Check admission, timed-entry availability and the current exhibition or visitor route. Approximate map pin; confirm the entrance. Source: Wikivoyage contributors, https://en.wikivoyage.org/wiki/Adelaide/Salisbury%2C_Playford_and_Tea_Tree_Gully (CC BY-SA 4.0). Selection and timing adapted; route data shared under CC BY-SA 4.0.
 i
Check admission, timed-entry availability and the current exhibition or visitor route. Approximate map pin; confirm the entrance. Source: Wikivoyage contributors, https://en.wikivoyage.org/wiki/Adelaide/Salisbury%2C_Playford_and_Tea_Tree_Gully (CC BY-SA 4.0). Selection and timing adapted; route data shared under CC BY-SA 4.0.
Estimated transfer allowance between visits (0.74 km straight-line distance, not road distance). Check walking, transit, ferry or taxi options before travelling; allow a meal break before the 15:00 visit.
Check weather and access conditions; arrange any required ferry or return transport separately. Approximate map pin; confirm the entrance. Source: Wikivoyage contributors, https://en.wikivoyage.org/wiki/Adelaide/Salisbury%2C_Playford_and_Tea_Tree_Gully (CC BY-SA 4.0). Selection and timing adapted; route data shared under CC BY-SA 4.0.
 i
Check weather and access conditions; arrange any required ferry or return transport separately. Approximate map pin; confirm the entrance. Source: Wikivoyage contributors, https://en.wikivoyage.org/wiki/Adelaide/Salisbury%2C_Playford_and_Tea_Tree_Gully (CC BY-SA 4.0). Selection and timing adapted; route data shared under CC BY-SA 4.0.
Estimated transfer allowance between visits (7.79 km straight-line distance, not road distance). Check walking, transit, ferry or taxi options before travelling; allow a meal break before the 15:00 visit.
Check admission, timed-entry availability and the current exhibition or visitor route. Approximate map pin; confirm the entrance. Source: Wikivoyage contributors, https://en.wikivoyage.org/wiki/Adelaide/Salisbury%2C_Playford_and_Tea_Tree_Gully (CC BY-SA 4.0). Selection and timing adapted; route data shared under CC BY-SA 4.0.
Stop photos come from Wikimedia Commons and Wikipedia under the free licences shown. “Dish photo” images illustrate the cuisine, not the restaurant itself.